
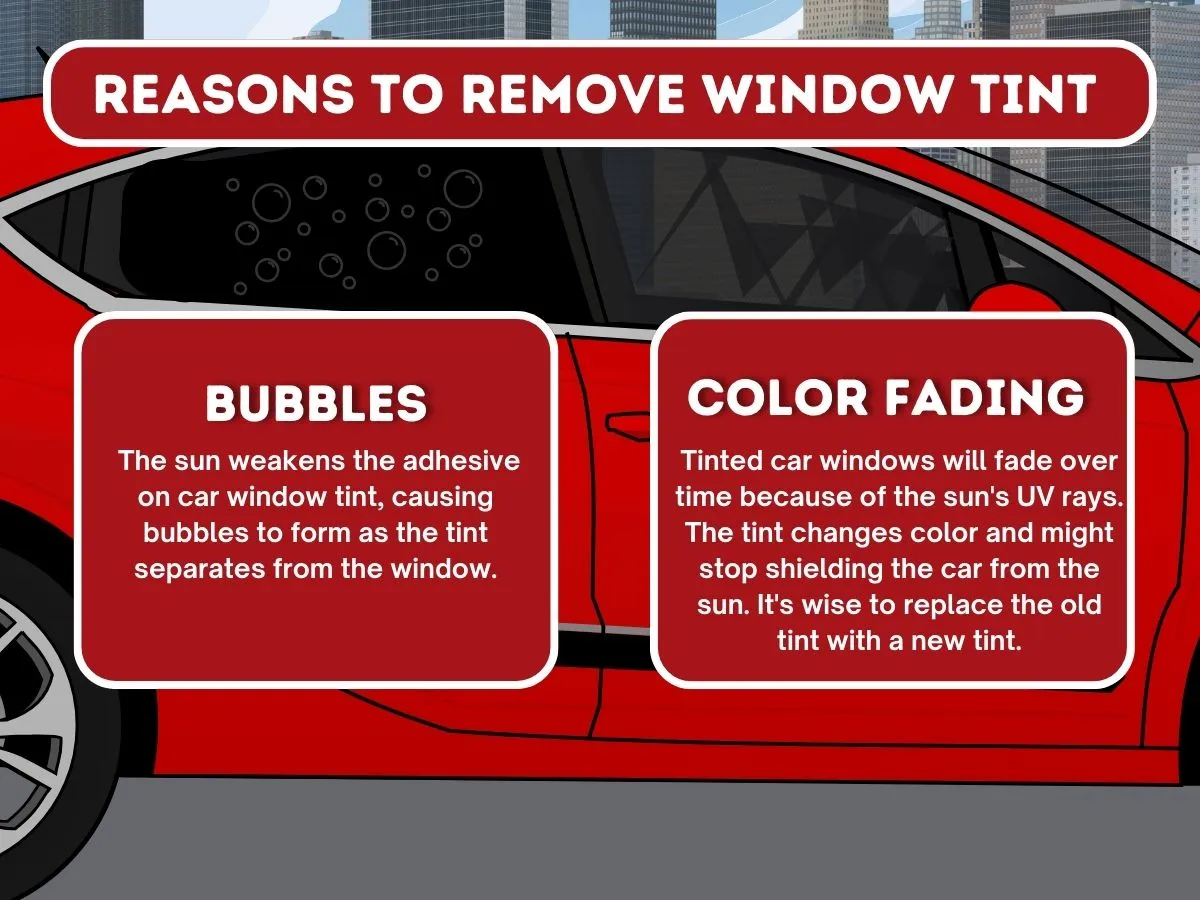
Over time, car window tint can fade, bubble, or peel, affecting both visibility and aesthetics. Whether you want to replace it or restore your windows to their original state, removing tint requires the right techniques to avoid damage.
This blog will explore the safe and effective methods to remove tint from car windows, in addition to the tools you’ll need to do so.
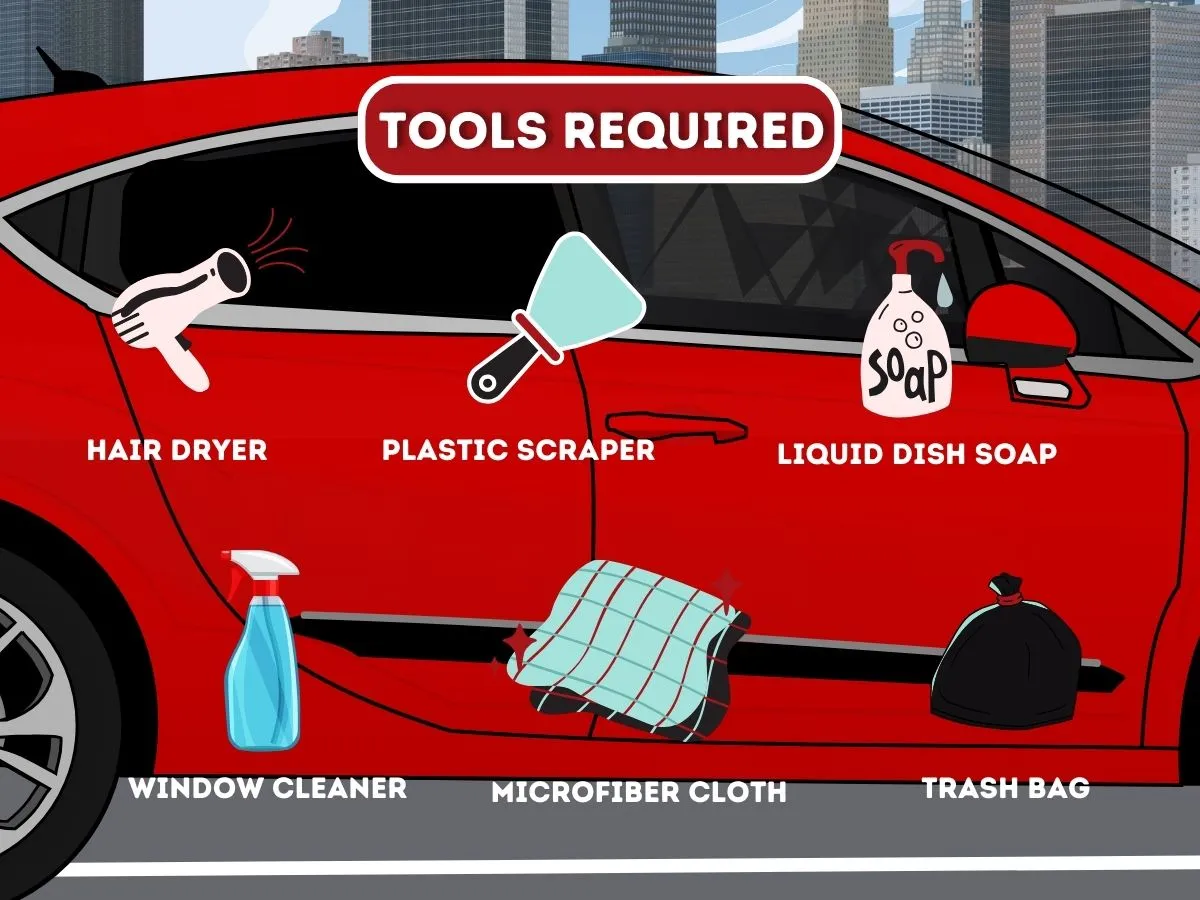
Tools Required
The first step to remove tint from car windows is gathering all the necessary tools. Here’s what you’ll need to get the job done efficiently:
- Heat Gun or Hair Dryer
- A plastic Scraper or Razor Blade
- Liquid Dish Soap
- An Ammonia-based Window Cleaner
- Black trash bags for trapping heat (if you’re going to use the ammonia method)
- A Microfiber Cloth
- Clothing or upholstery streamer (if using the streaming method)
After you’ve gathered all the things listed above, you may proceed to remove tint from car windows.
How Do You Remove Tint from Car Windows?
Removing old tint from your car can be a simple DIY task, provided you have the right tools. To successfully remove the old tint, follow these step-by-step instructions:
Step 1: Clean Your Windows Thoroughly
It’s essential to begin the removal process with a fresh and clean surface. You can make an at-home window cleaner simply with a vinegar solution. The ingredients for making an at-home cleaning solution are simple and easily available. Just mix the following:
- ¼ cup white or apple cider vinegar
- ¼ cup rubbing alcohol
- One tbsp cornstarch
- Two cups of water
- Ten drops of lemon essential oil
Once you have combined the ingredients, pour the mixture into a spray bottle, spray every inch of the tinted glass, and wipe your car down. This quick and effective remedy ensures that your car windows, including the areas around the tinted sections, are thoroughly cleaned and streak-free.
Step 2: Choose a Removal Method
Here’s how to remove tint from car windows:
Remove Window Tint by Steaming
One of the safest and most efficient ways to remove window tint is to use a clothing or upholstery steamer. Hold the steamer 1–2 inches from the tinted window and apply long, sweeping motions. After about 10 minutes, the heat will loosen the adhesive. You can then use a razor blade to lift a corner of the tint and start peeling it off slowly. If the tint rips, steam the area again before continuing.
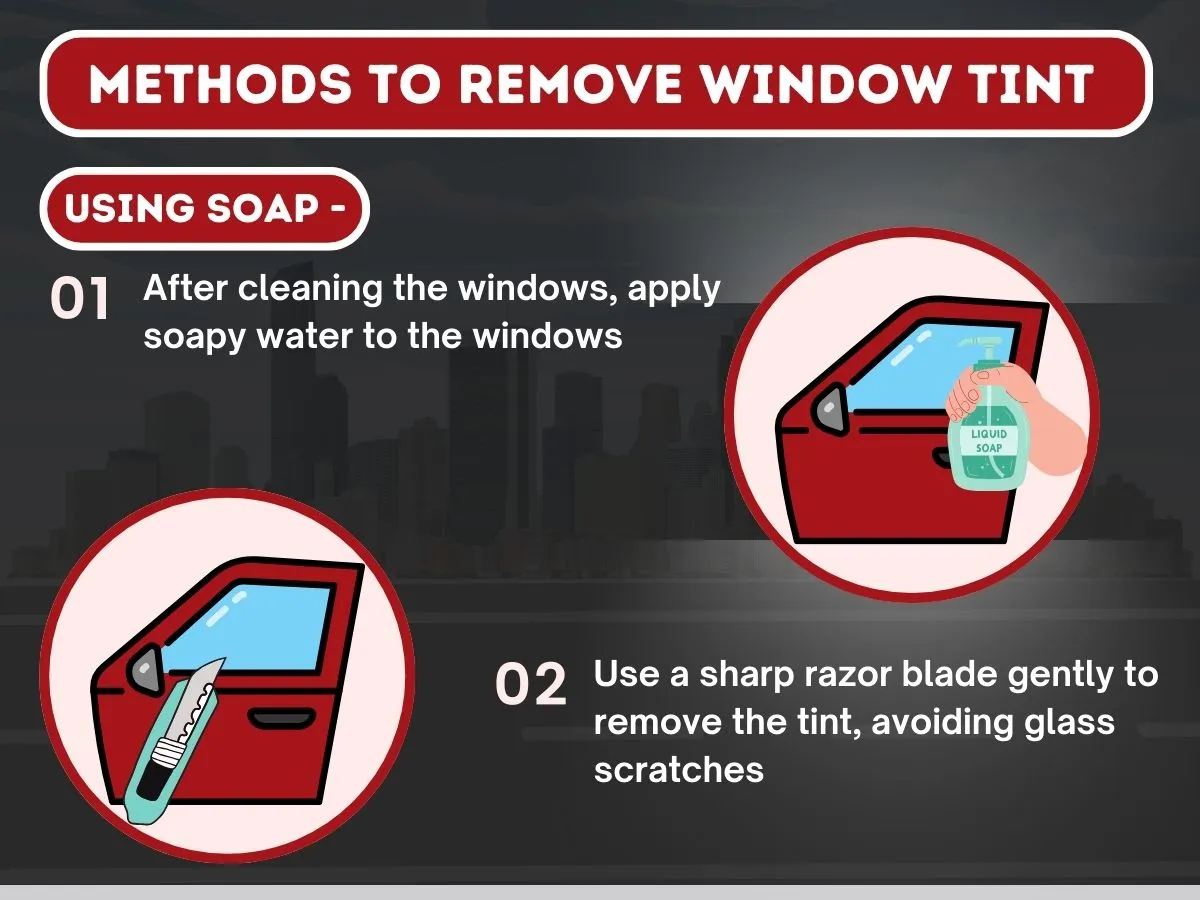
Remove Window Tint with Soap
After cleaning the windows, apply soap to them. Take dish soap and water and scrape away the tint with a sharp razor blade. Be gentle while applying this method; otherwise, you may scratch your car’s auto glass.
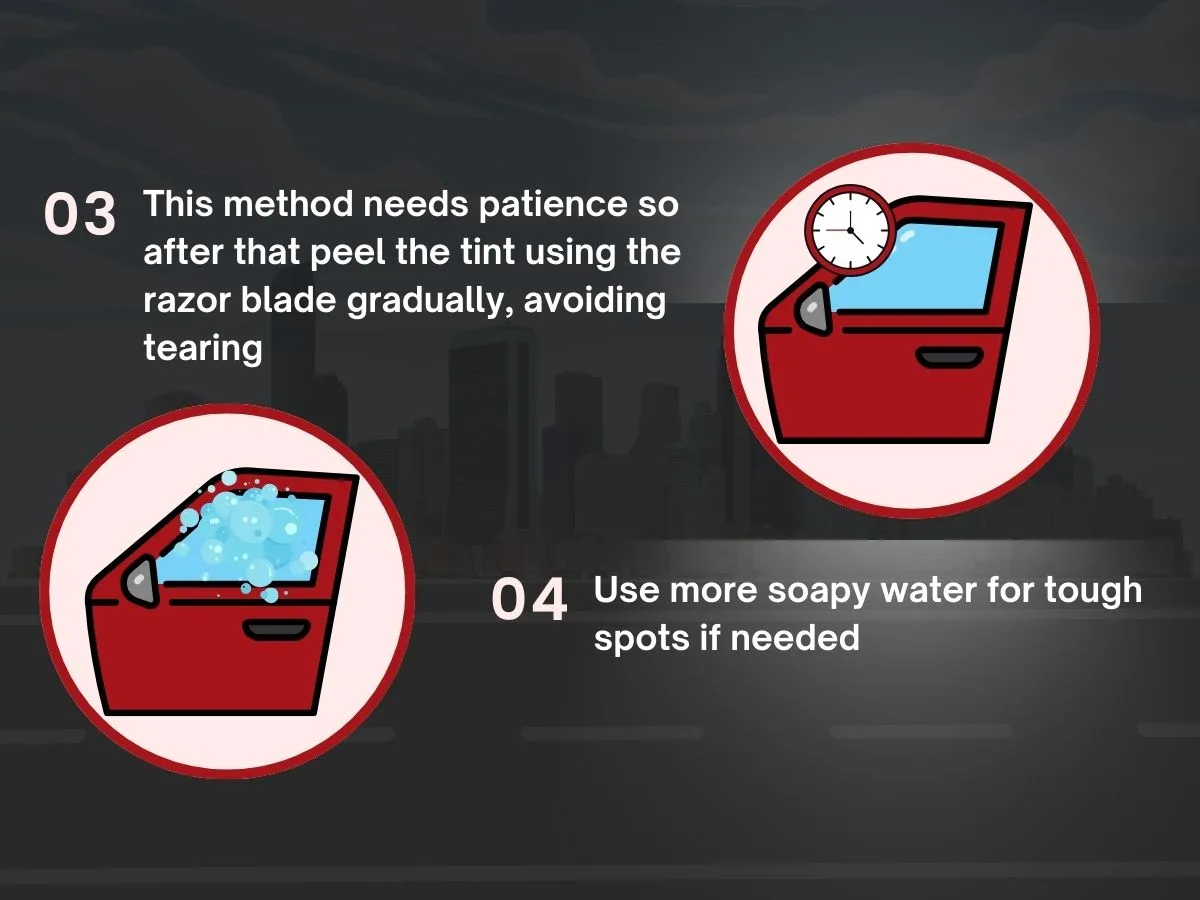
This method requires patience and precision. Start by thoroughly covering the tinted window with soap and water. Letting the tint soak will soften the adhesive, making it easier to lift a corner of the film and peel it off smoothly.
You can also use a razor blade to carefully lift the corner of the tint and peel it off slowly. Avoid ripping it off too quickly, as this may cause tearing. If you encounter stubborn spots where the tint won’t come off easily, apply a more soapy solution to help loosen the adhesive.
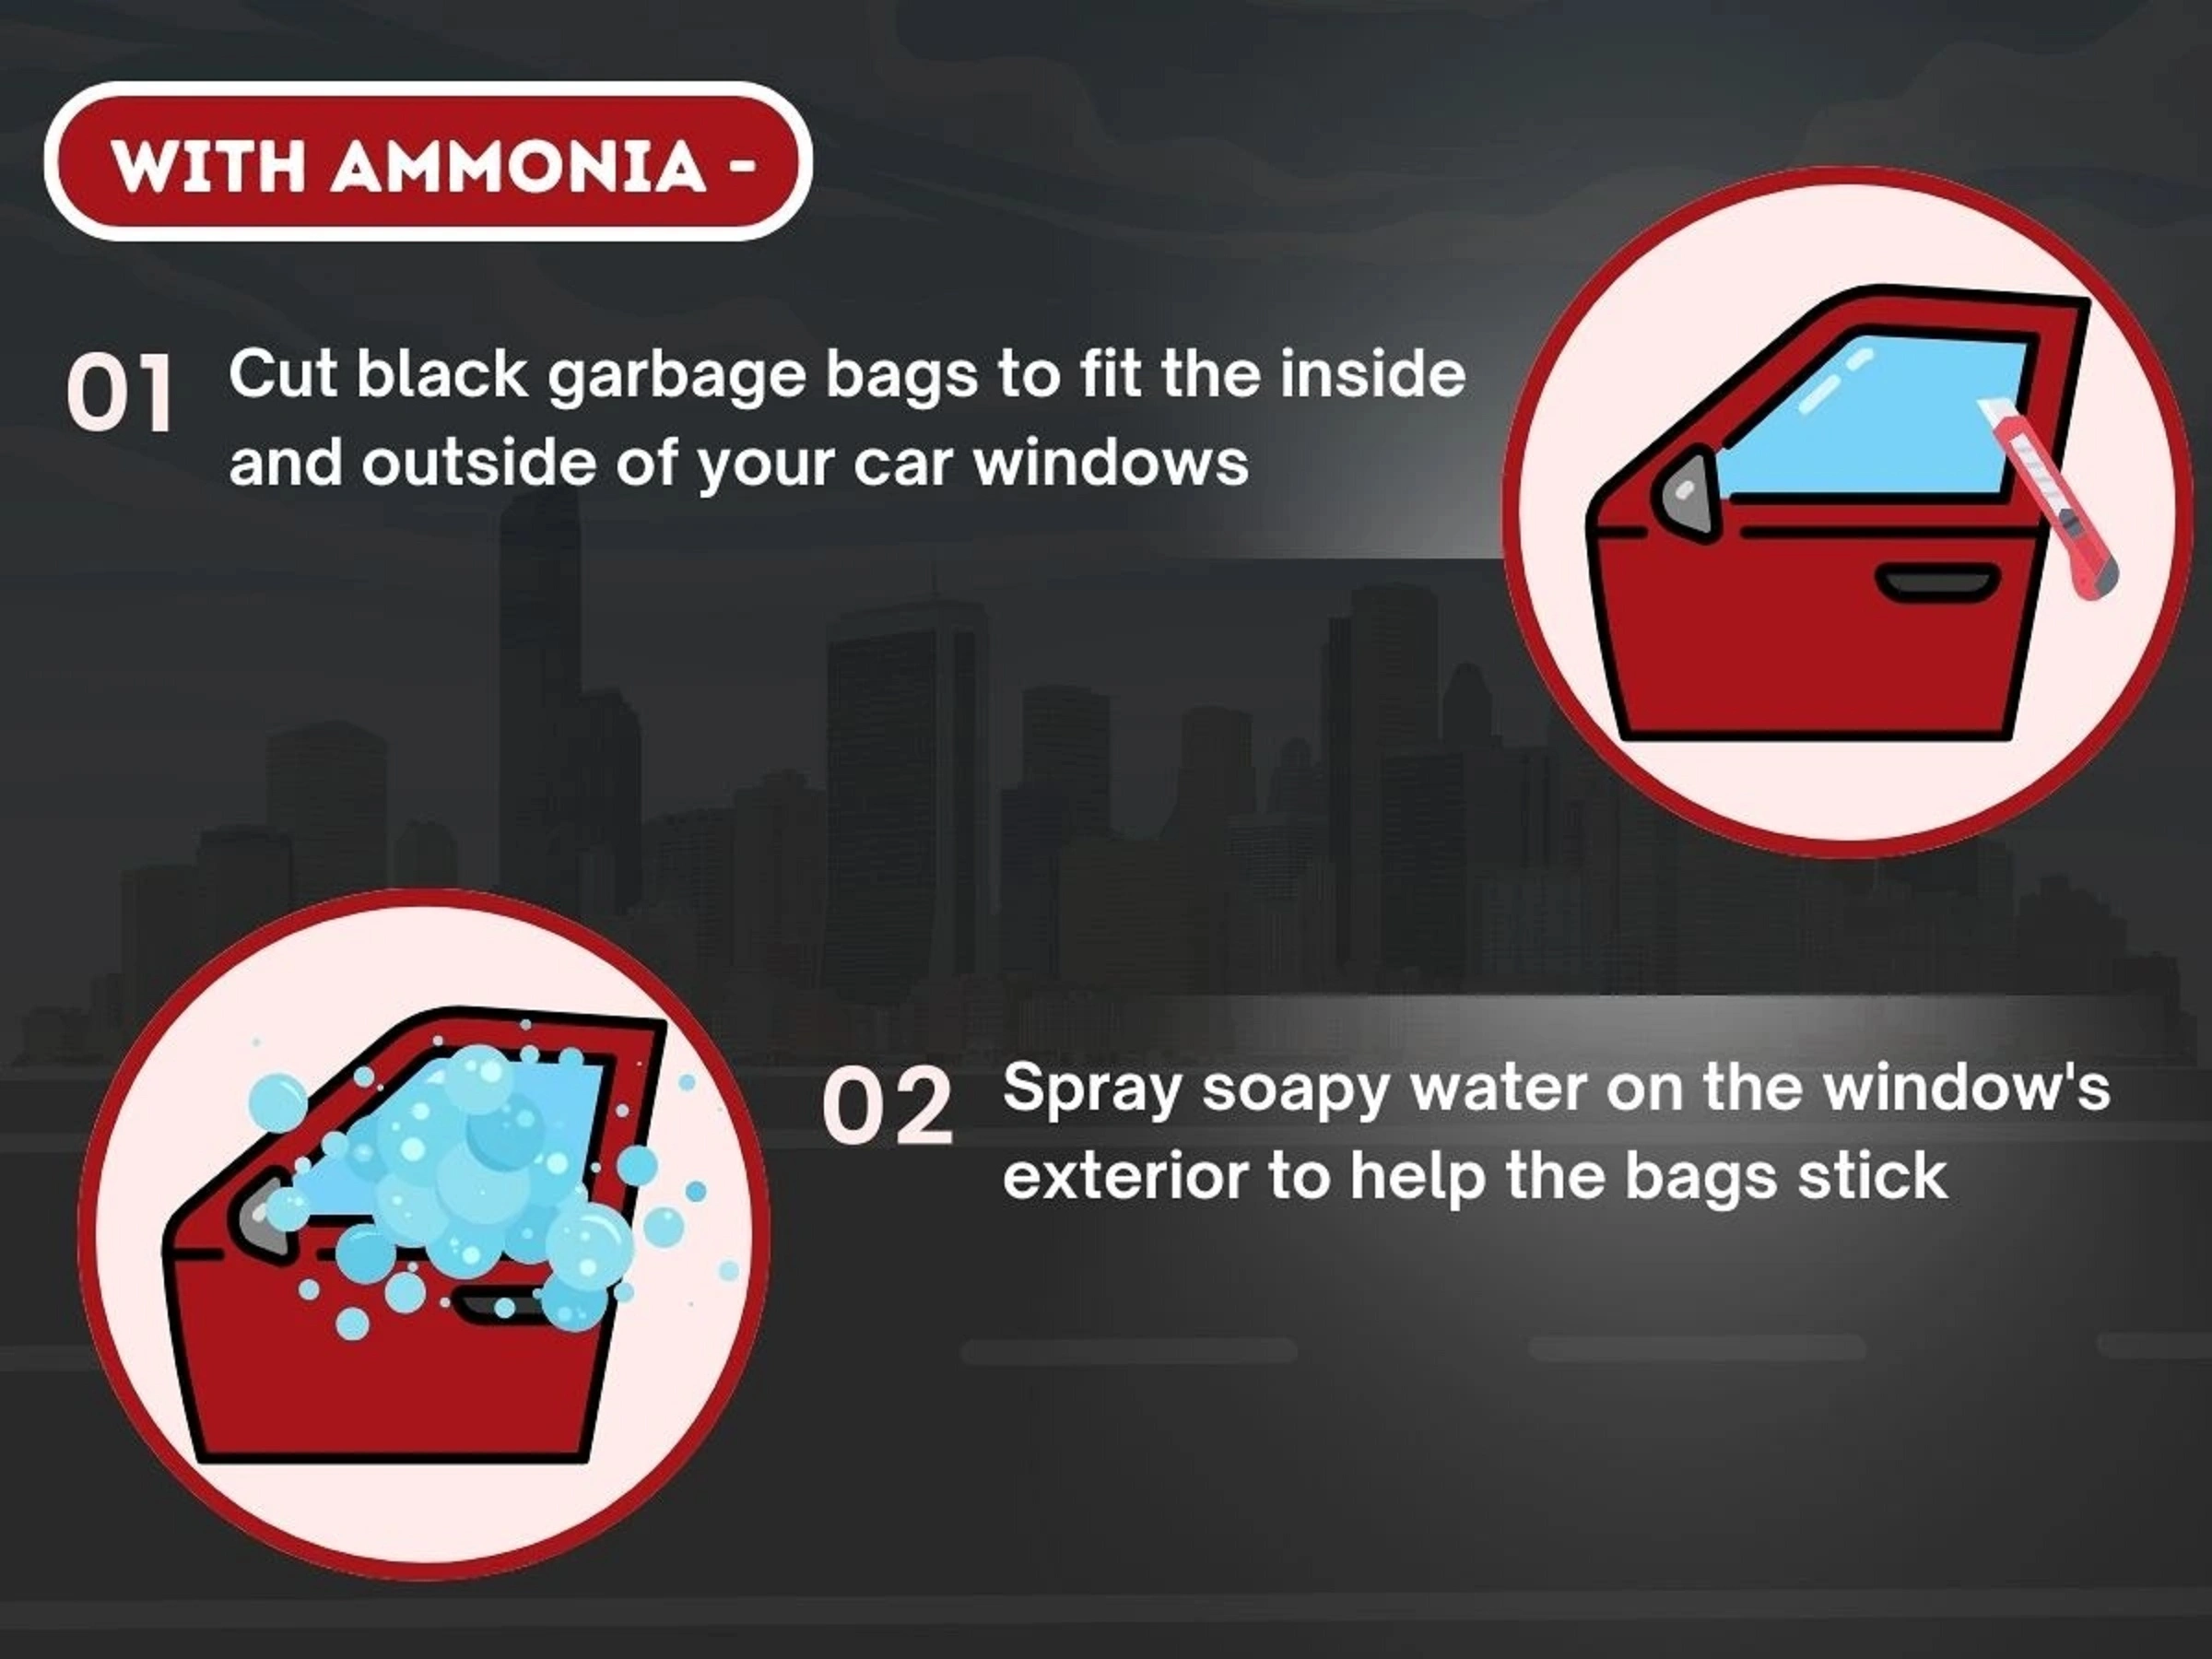
Remove Window Tint with Ammonia
Most people use ammonia to remove window stickers, but few realize it also works as an excellent window-cleaning agent—and even removes tint when applied directly to car windows.
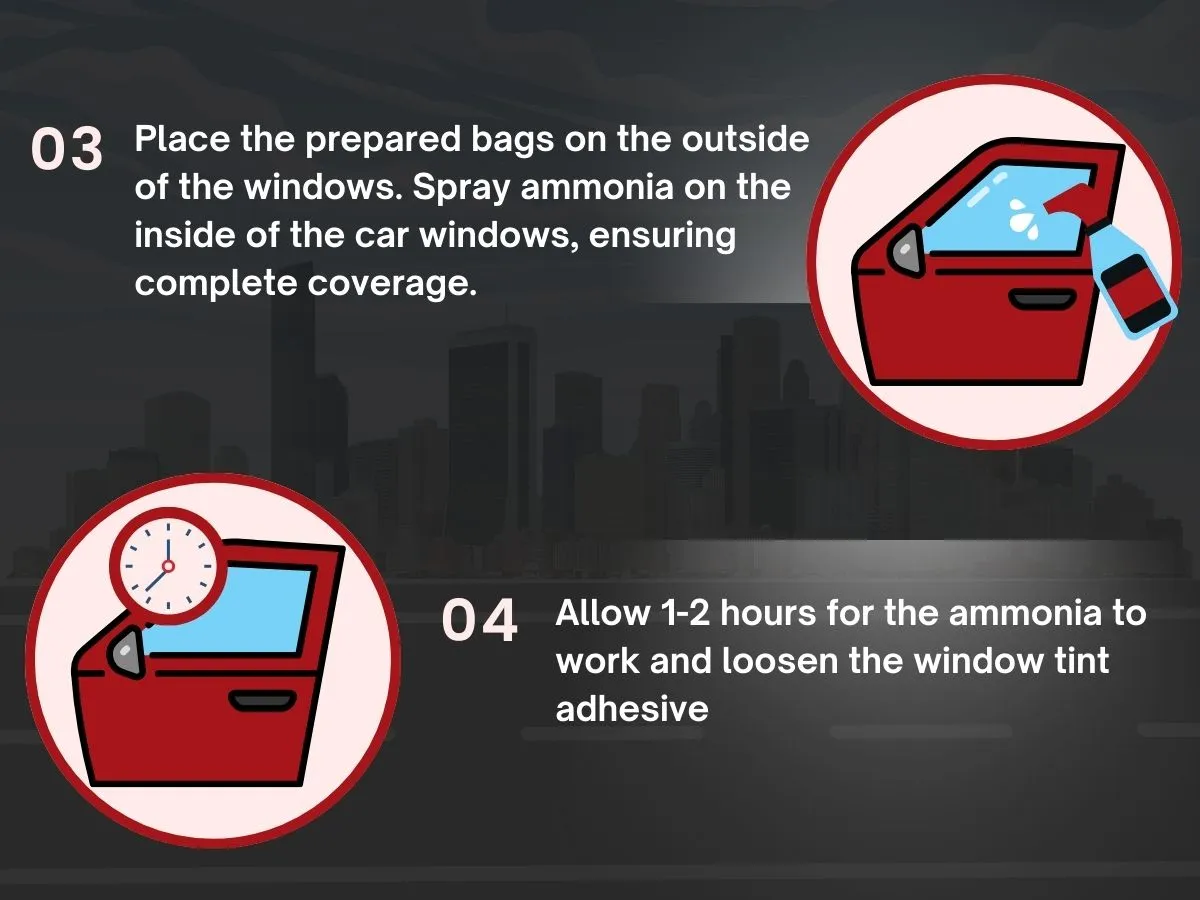
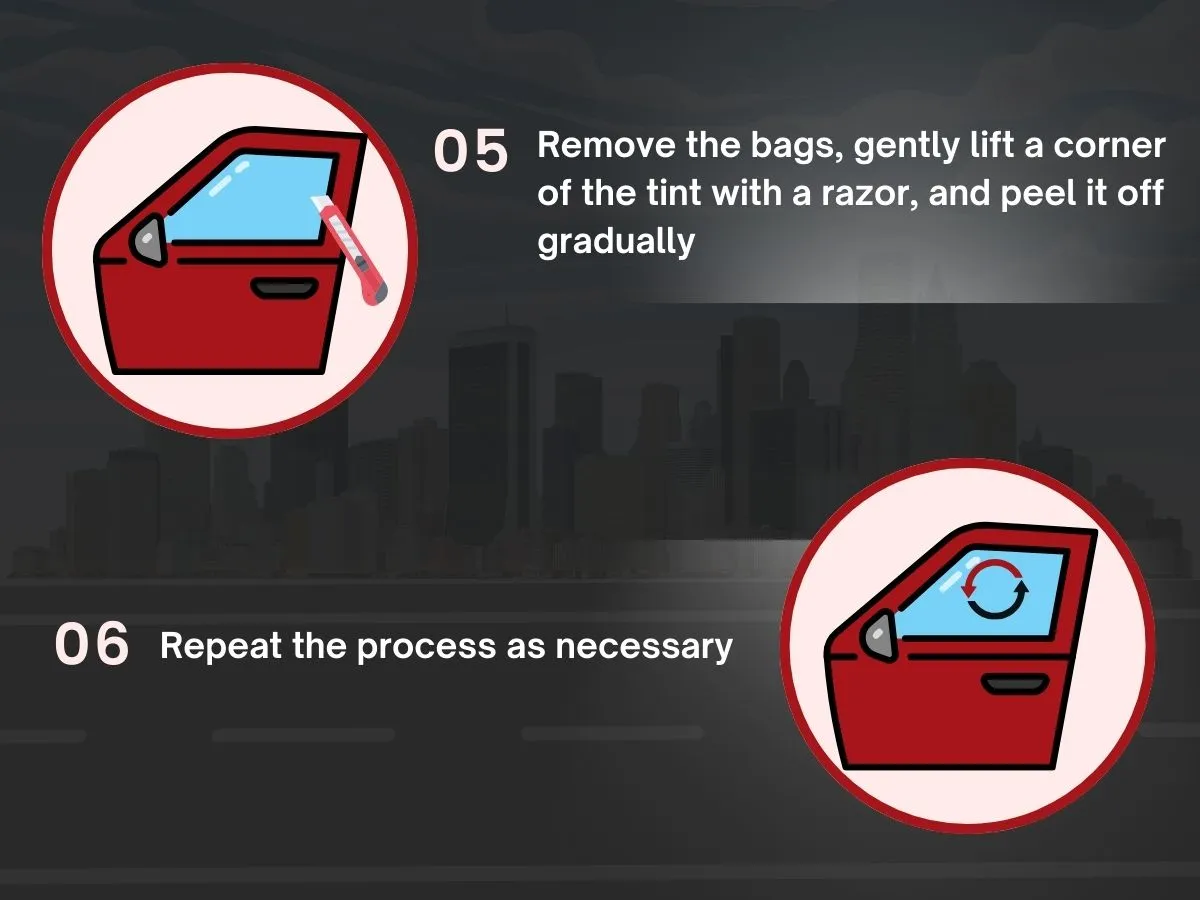
To use this method, start by covering your tinted windows with black trash bags. Cut them to fit perfectly along the edges and secure them with tape. Once in place, lift a small section of the bag from the outside and spray on your soapy solution (from Method 3) onto the window. On the inside, apply ammonia instead of soap and water. Let it sit for an hour, then remove the trash bags and watch the magic happen—peel off the tint effortlessly!
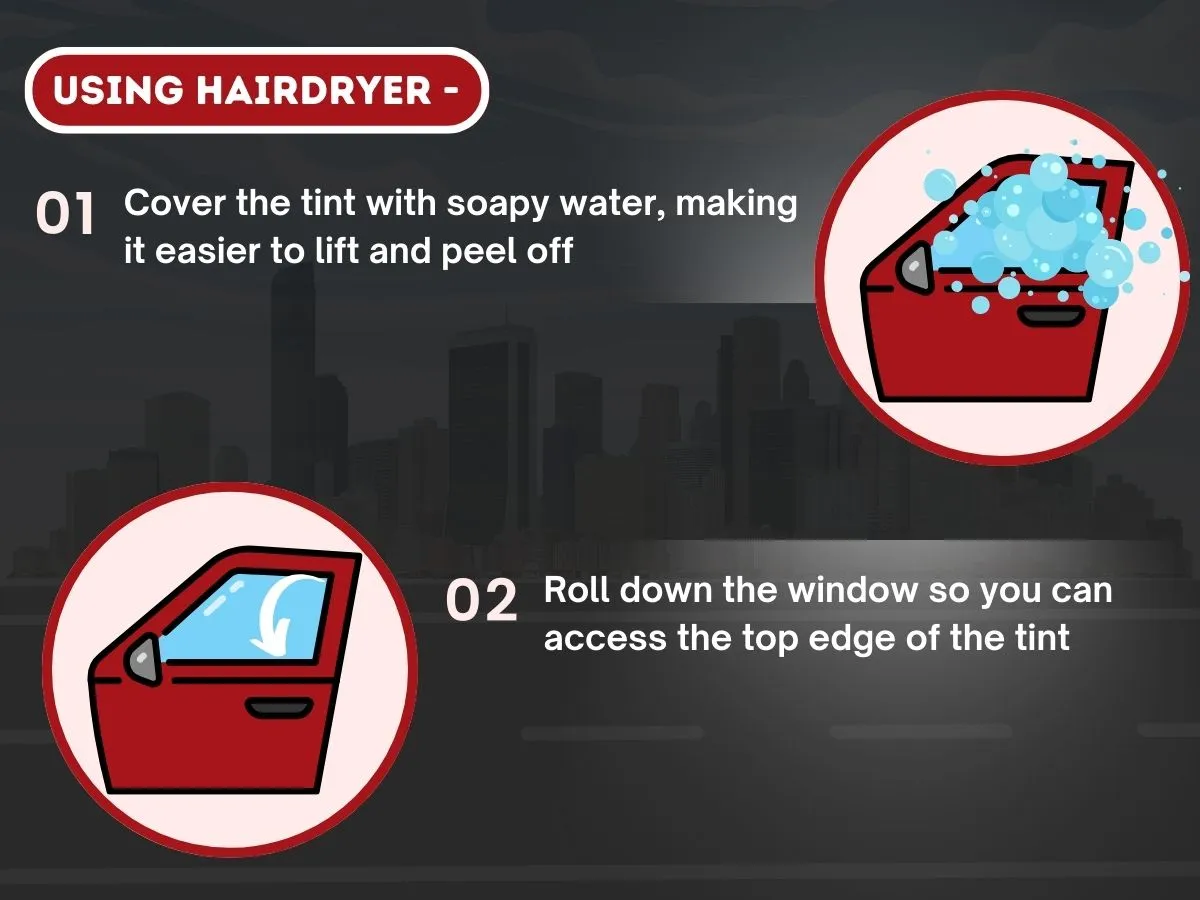
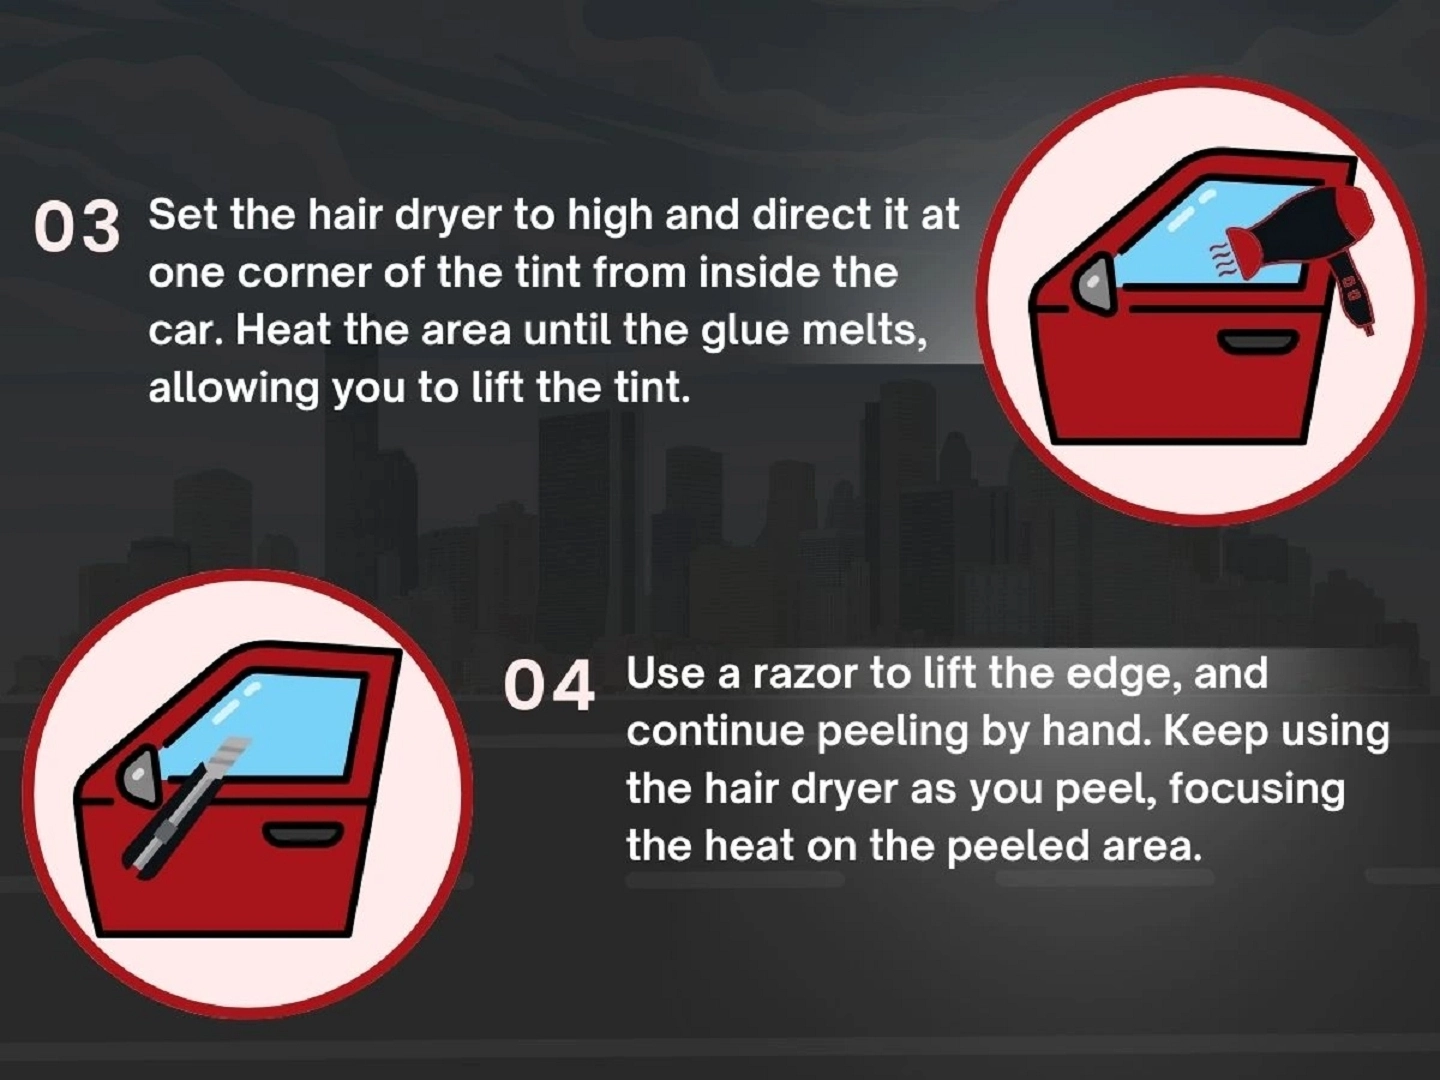
Remove Window Tint using a Hair Dryer
Applying heat is one of the best methods for removing window tint. If you don’t have the ingredients for an at-home solution, the hairdryer method is a great alternative—you’ll just need an extension cord and some patience.
To begin, roll down the other windows while working on one to improve ventilation and protect your vehicle’s interior from excessive heat. Start by heating a corner of the tint with your hairdryer. Once the tint begins to curl, it will be easier to peel off while continuously applying heat. Keep the hairdryer a few inches away from the surface, moving it along the tint as you lift the film. Continue this process until all the tint is removed.
Step 3: Remove Any Residue
After peeling off the tint, adhesive residue will likely remain. You can remove it with isopropyl alcohol, ammonia-based cleaner, nail polish remover (acetone-based), or a vinegar and water mixture. Apply the solution to the adhesive, let it sit for 5–10 minutes, then wipe it away with a microfiber cloth or plastic scraper.
Step 4: Clean Your Windows
Once the adhesive is gone, clean the glass thoroughly using a window cleaner or the vinegar-based solution mentioned earlier. Wipe with a microfiber cloth to ensure a streak-free finish.
| Method | Pros | Cons |
| Steaming | Safest, most effective, no harsh chemicals | Requires a steamer |
| Heat Gun/Hair Dryer | Quick and easy | Risk of overheating glass |
| Soap & Water | Chemical-free, inexpensive | Time-consuming |
| Ammonia & Trash Bags | Works well for stubborn tint | Strong fumes, requires outdoor use |
Bravo Protection: Your Trusted Experts for Removing Window
Removing window tint from your car may seem daunting, but with the right tools and techniques, you can achieve professional results at home. However, if you find it challenging to remove tint from your car windows, it’s best to consult with specialists.
Bravo Protection has a team of experts with over 20 years of experience in auto window tinting Minneapolis MN, ensuring a flawless finish. We use advanced techniques to remove old tint efficiently, leaving your windows spotless and free from residue. Additionally, we offer car paint protection services to keep your vehicle looking its best.
Contact Bravo Protection today for professional window tint removal, installation, and paint protection!