En resumen
- Tintado de Vidrios debe limpiarse, cortarse, termocontraerse y alisarse con una rasqueta en el interior del cristal, no en el exterior.
- La legislación de Minnesota establece límites estrictos sobre el grado de oscurecimiento que pueden tener las lunas tintadas, especialmente en los turismos y en el parabrisas delantero.
- Las instalaciones «hazlo tú mismo» suelen fallar debido al polvo, las huellas dactilares, las arrugas y las burbujas que aparecen días después.
- La instalación profesional se lleva a cabo utilizando plantillas cortadas con CNC, salas limpias e instaladores cualificados, lo que garantiza el cumplimiento de la garantía de la lámina.
Qué se necesita para aplicar Tintado de Vidrios
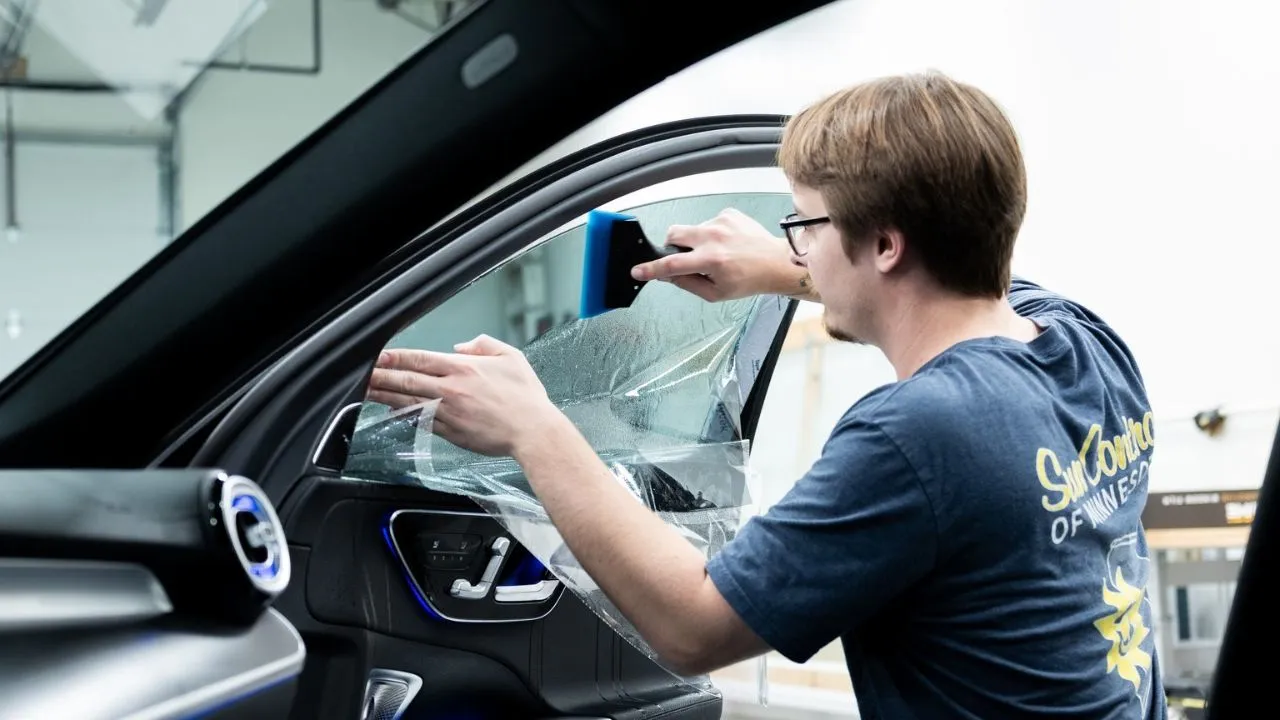
Para aplicar Tintado de Vidrios en , el proceso comienza con la limpieza del cristal, a lo que le sigue el corte de la lámina a medida, su termocontraacción para adaptarla a la curvatura de la ventana y, a continuación, su aplicación en el interior mediante una solución deslizante y una escobilla. La lámina siempre se instala en el interior, ya que el adhesivo necesita una superficie limpia y libre de polvo para adherirse correctamente.
Cada paso se basa en el siguiente, por lo que incluso los pequeños errores de corte o la contaminación pueden afectar al resultado final. Por eso se prefieren los entornos controlados para el la instalación Tintado de Vidrios , ya que ayudan a mantener la precisión y a reducir las imperfecciones.
En esta guía se explica todo el proceso, las herramientas necesarias, los errores más comunes y por qué una instalación profesional suele ofrecer resultados más uniformes.
Lo que necesitas antes de aplicarte el tinte
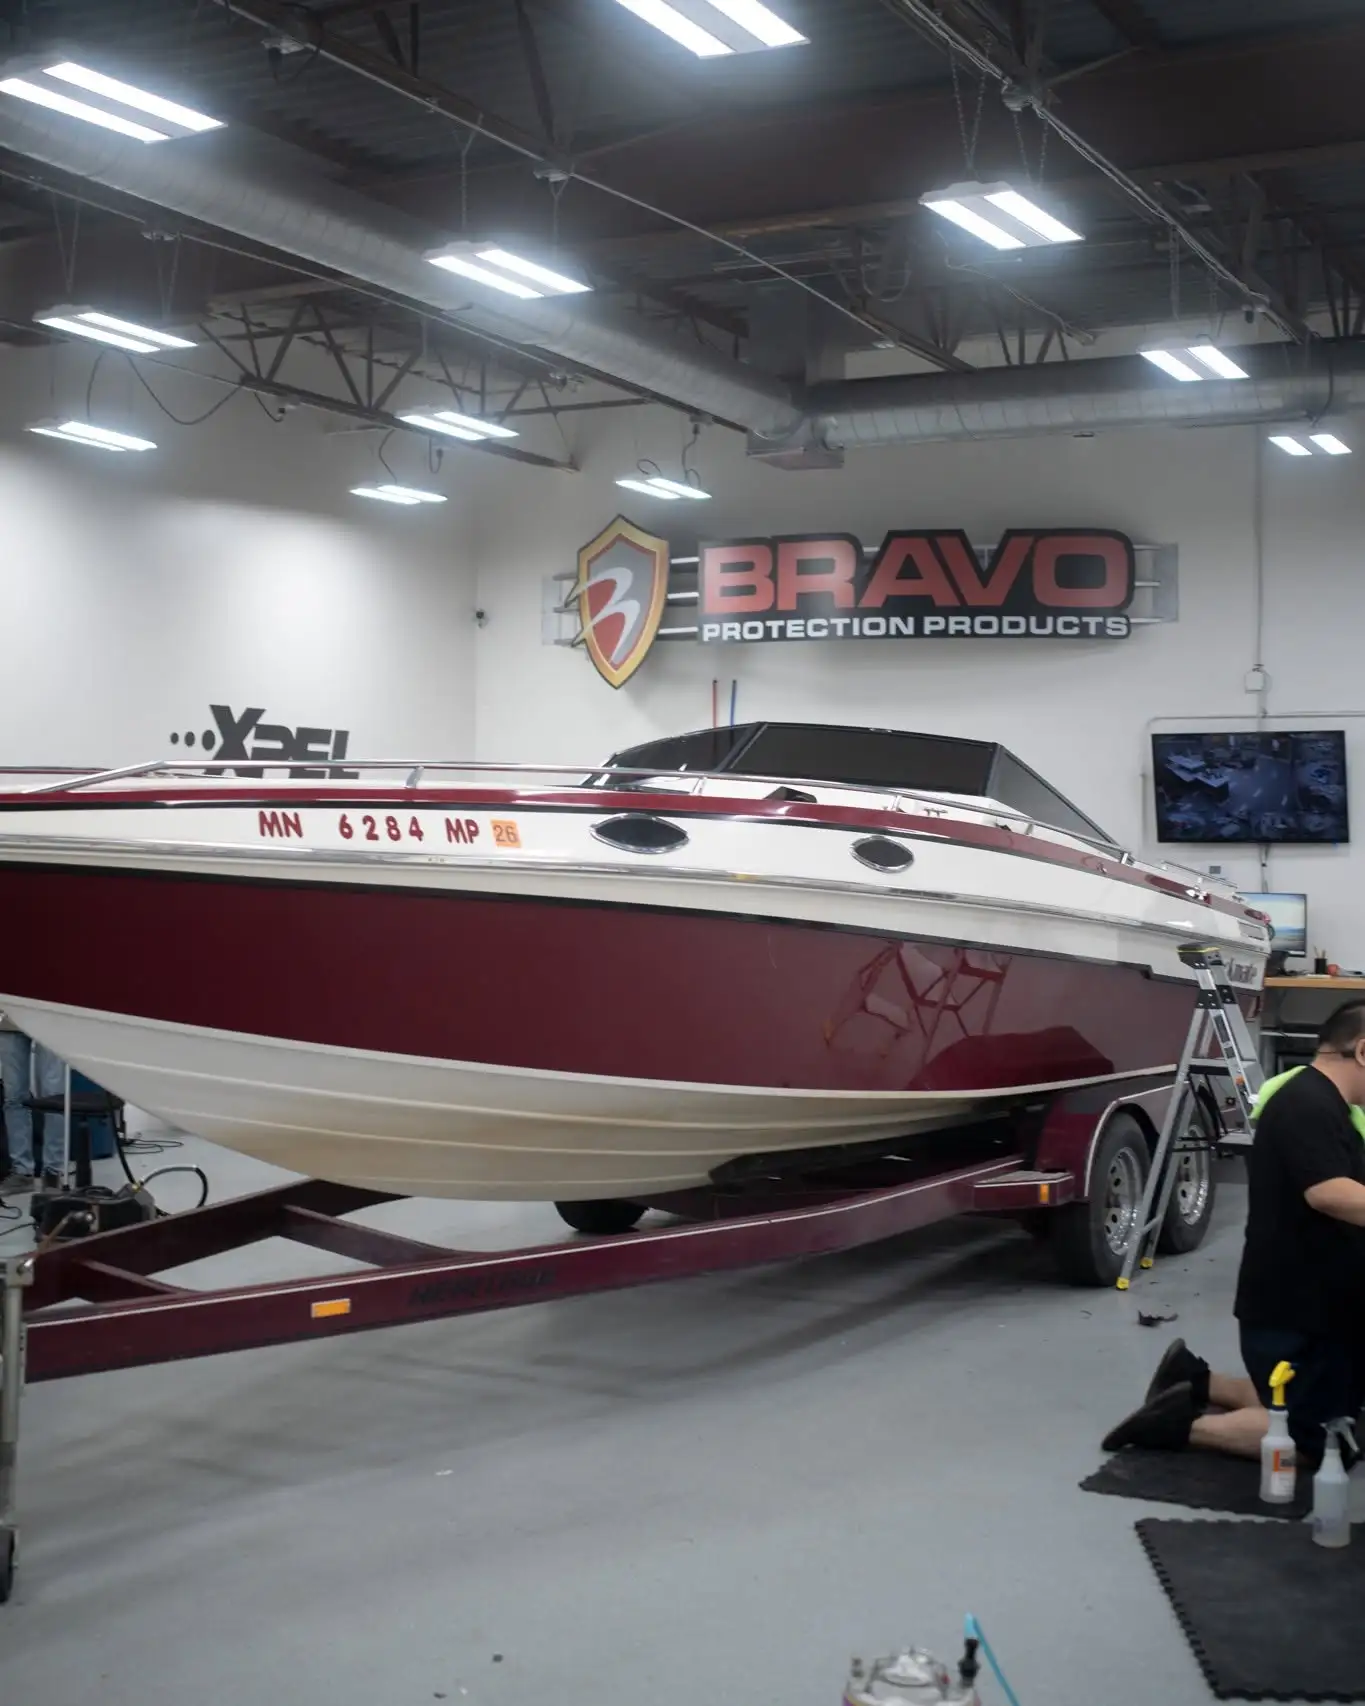
En Bravo Protection, consideramos que una preparación adecuada es tan importante como la propia instalación, ya que el acabado final depende en gran medida de que las superficies estén limpias y de que se utilicen las herramientas adecuadas. Necesitarás:
- Tintado de Vidrios » precortada (recomendada) o un rollo y una cuchilla afilada
- Solución jabonosa (unas gotas de champú para bebés en agua destilada)
- Tarjeta rígida y rasqueta de goma
- Pistola de aire caliente o soplete de propano (que debe utilizarse con precaución) para dar forma a la lámina y adaptarla al cristal curvado
- Toallas de microfibra que no dejan pelusa
- Rascador tipo cuchilla para limpiar el borde del cristal
- Un pulverizador y un espacio de trabajo limpio y sin polvo
Trabajar al aire libre en un día ventoso, en un vehículo caluroso expuesto al sol directo o en un garaje polvoriento es casi sinónimo de contaminación. Los talleres cubiertos utilizan iluminación filtrada y un flujo de aire controlado precisamente para evitarlo.
Cómo aplicar Tintado de Vidrios un coche: paso a paso
Dos décadas de experiencia práctica en la instalación de láminas tintadas en Bravo Protection han dado forma a este método paso a paso de eficacia probada:
- Limpia bien el cristal por ambos lados con un rascador de cuchilla y un paño que no suelte pelusa; a continuación, pásale la solución deslizante hasta que no queden marcas.
- Extiende la lámina en el exterior de la ventana, con el lado del papel protector hacia el cristal, para trazar la forma.
- Recorta la lámina por el borde de la ventana con una cuchilla afilada, dejando un pequeño margen que luego meterás por debajo de la junta de goma.
- Retrocede la película del exterior del cristal con la pistola de calor, trabajando desde el centro hacia fuera para eliminar las arrugas verticales.
- Baja un poco la ventanilla y rocía generosamente el interior del cristal con una solución deslizante.
- Retira la lámina protectora transparente de la cara adhesiva mientras rocias continuamente el adhesivo para mantenerlo activo.
- Coloca con cuidado la lámina en el interior del vaso y alinea primero el borde superior.
- Retira la solución de deslizamiento con la escobilla desde el centro hacia fuera, trabajando lentamente para empujar el agua y las burbujas de aire hacia los bordes.
- Introduce el borde inferior de la lámina en la junta de la puerta con ayuda de una tarjeta y, a continuación, sube la ventanilla hasta arriba del todo.
- Deja que la lámina se seque sin tocarla durante al menos tres o cinco días antes de bajar la ventanilla o limpiarla.
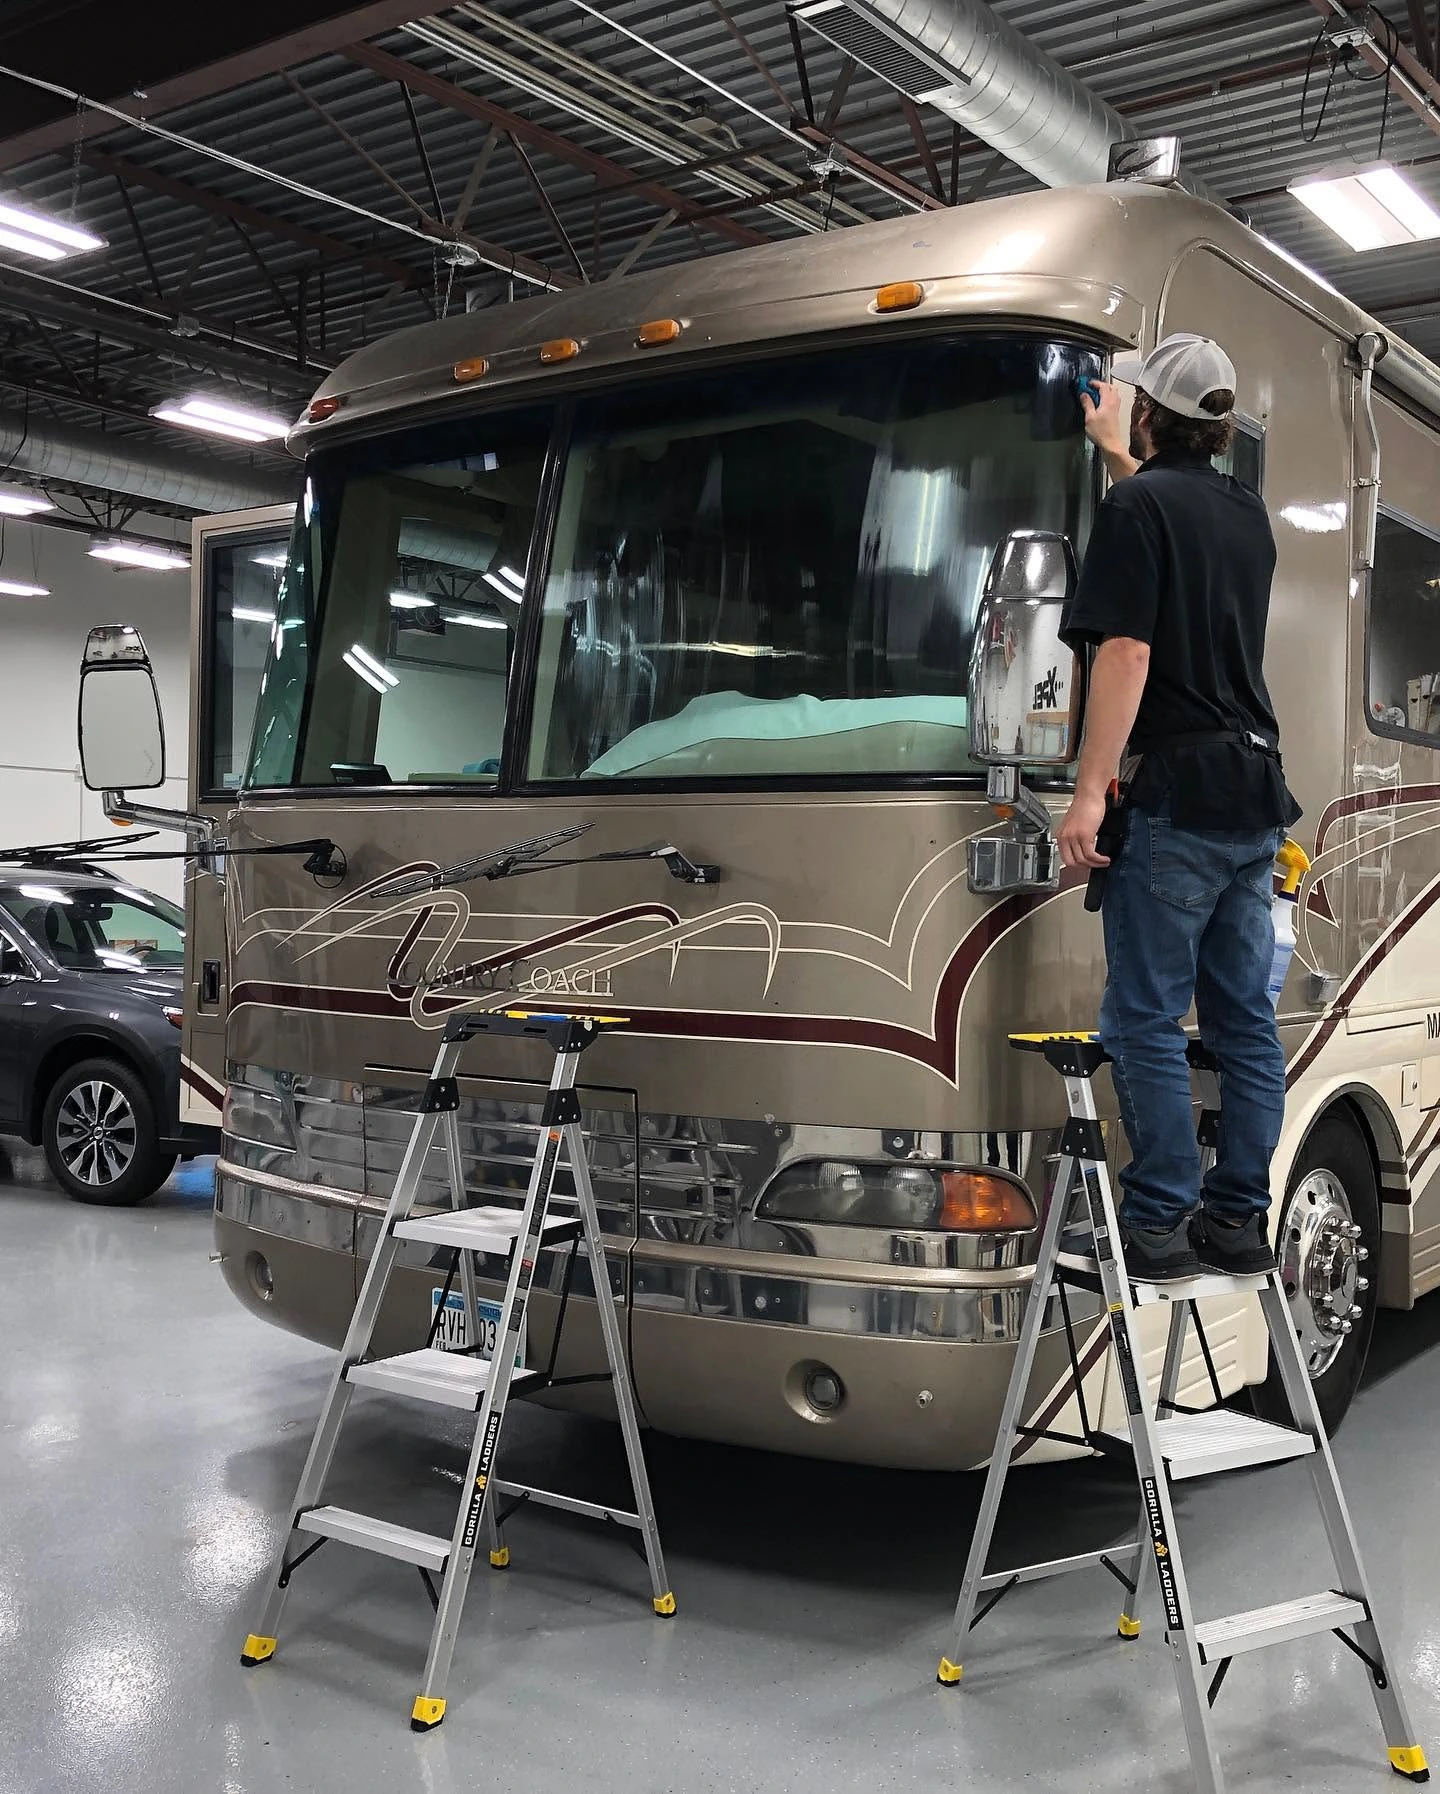
Los pasos anteriores describen el proceso para aplicar la lámina a una ventana trasera o lateral. Las ventanas laterales delanteras y el parabrisas trasero se tratan con la misma técnica, pero requieren mayor destreza, ya que la curvatura y las líneas del desempañador dificultan un ajuste preciso.
¿Por qué suele Tintado de Vidrios mal la instalación Tintado de Vidrios en los coches?
La mayoría de los problemas que surgen al aplicar Tintado de Vidrios de coche por cuenta propia Tintado de Vidrios a la contaminación, a un corte deficiente, al sobrecalentamiento de la lámina y a precipitarse en la fase de alisado con la espátula. El polvo que queda debajo del adhesivo se ve como pequeños puntos negros una vez secado. Cortar directamente sobre el cristal puede dejar arañazos que se hacen más visibles bajo el intenso resplandor invernal de Minnesota. El sobrecalentamiento también puede deformar las láminas de menor calidad, especialmente con los cambios extremos de temperatura estacionales.
Los parabrisas traseros con conductos de desempañado son otro punto habitual de avería. Los conductos en relieve dificultan que la lámina se asiente de forma uniforme, y una presión desigual puede provocar que se levante o se dañe. En Minnesota, donde los sistemas de desempañado se utilizan mucho durante los largos inviernos, este riesgo hace que las instalaciones de parabrisas traseros por cuenta propia resulten especialmente complicadas.
Instalación de láminas tintadas por uno mismo frente a la instalación profesional
La mayor diferencia entre aplicar el tintado a las lunas del coche en casa y hacerlo en un taller es la uniformidad. Un instalador cualificado que trabaje con plantillas cortadas con CNC consigue el mismo resultado a la primera que el que un instalador aficionado podría lograr tras varios intentos. Además, los talleres profesionales utilizan láminas de mayor calidad. Por ejemplo, las láminas XPEL ofrecen un rechazo del calor significativamente mejor que las láminas teñidas básicas, y estas láminas de gama alta suelen venderse únicamente a través de instaladores certificados.
El otro factor es la garantía. La mayoría de los fabricantes de láminas vinculan su garantía a una instalación profesional. Una instalación por cuenta propia de un rollo comprado por Internet suele anular dicha cobertura, lo cual es importante porque si la lámina forma burbujas o se despega al cabo de dos años, se trata de un defecto del producto, no de un defecto de la mano de obra.
¿Es Tintado de Vidrios oscuro Tintado de Vidrios en Minnesota?
Tintado de Vidrios de Minnesota es estricta en comparación con la de muchos otros estados. Según el artículo 169.71 del Código de Minnesota, los límites dependen del tipo de vehículo:
- Turismos (vehículos de pasajeros): Las ventanillas laterales delanteras, las ventanillas laterales traseras y la luneta trasera deben dejar pasar más del 50 % de la luz visible.
- SUV, furgonetas, camionetas y otros vehículos polivalentes: las ventanillas laterales delanteras deben dejar pasar más del 50 % de la luz; las ventanillas laterales traseras y la luneta trasera pueden tener cualquier grado de tintado.
- Parabrisas: No se permite ningún tipo de tintado no original, salvo una franja no reflectante en la parte superior.
- Límite de reflectividad: El tintado no puede tener una reflectividad superior al 20 % en ninguna ventana.
- Desviación: Se admite una tolerancia del 3 % en las mediciones.
Se puede obtener una exención médica previa presentación de un certificado médico. El tintado realizado sin respetar estos límites puede dar lugar a una multa, y el propietario del vehículo es responsable de retirar o sustituir la lámina ilegal.
Lo que hay que saber sobre el tintado de las lunas del coche
Antes de aplicar Tintado de Vidrios , sopesa el coste de unas cuantas horas de frustración y la posibilidad de tener que volver a hacerlo frente a una única cita en un taller especializado. La lámina en sí es solo una parte de la ecuación; lo que determina el aspecto que tendrá el tintado dentro de cinco años es la limpieza de la instalación, la precisión del corte y la calidad de la lámina.
En Bravo Protection instalamos las láminas XPEL PRIME CS, PRIME XR y PRIME XR PLUS, y contamos con más de 20 años de experiencia en la protección de vehículos en las Ciudades Gemelas y el oeste de Wisconsin. Si quieres aplicar Tintado de Vidrios que cumpla con la legislación de Minnesota, mantenga su color y conserve intacta la garantía, lo más sensato es acudir a un instalador certificado.
Para concertar una cita para asesorarte sobre el tintado o solicitar un presupuesto para la lámina cerámica PRIME, ponte en contacto con Bravo Protection llamando al (952) 476-7025, enviando un correo electrónico a sales@bravoprotection.com o visitándonos en 14010 23rd Ave N, Plymouth, MN 55447.
Preguntas frecuentes
En un taller profesional, el tintado completo de un turismo estándar suele llevar entre dos y tres horas. En el caso de vehículos más grandes, como los todoterrenos o las furgonetas, que tienen una mayor superficie acristalada, el proceso puede prolongarse entre tres y cuatro horas. La mayor parte del tiempo se dedica a los trabajos de preparación, al corte y al curado, no a la aplicación en sí.
No. Tintado de Vidrios diseñado para adherirse a la superficie interior de los cristales de los vehículos. Si se instala en el exterior, el adhesivo queda expuesto a las inclemencias meteorológicas, a los lavados de coche y a la radiación UV por ambos lados, lo que provoca un deterioro rápido. La única excepción son las láminas para exteriores diseñadas específicamente para autobuses o vehículos sin ventanas que se puedan bajar.
El curado completo tarda entre tres y cinco días en condiciones de clima cálido y seco, y hasta cuatro semanas durante los inviernos de Minnesota, ya que las temperaturas más bajas ralentizan la evaporación de la humedad bajo la lámina. Durante el curado, no bajes las ventanillas ni limpies el interior del cristal.
Un tintado instalado correctamente no daña los conductos del desempañador, pero una instalación incorrecta sí puede hacerlo. El riesgo surge durante la aplicación, si se tira con fuerza de la lámina sobre los conductos, o durante la limpieza, si se utilizan herramientas abrasivas. Los instaladores profesionales utilizan técnicas desarrolladas específicamente para trabajar alrededor de las rejillas del desempañador sin levantarlas.
El coste del material es menor si lo haces tú mismo, ya que un rollo de lámina básica sale mucho más barato que una instalación profesional. El verdadero coste reside en los errores: primeros intentos fallidos, garantías anuladas y multas por un tintado que acaba siendo más oscuro de lo que permite la ley de Minnesota. Muchos de los que lo instalan por su cuenta acaban pagando a un taller para que retire y sustituya la lámina, lo cual resulta más caro que hacerlo de forma profesional desde el principio.